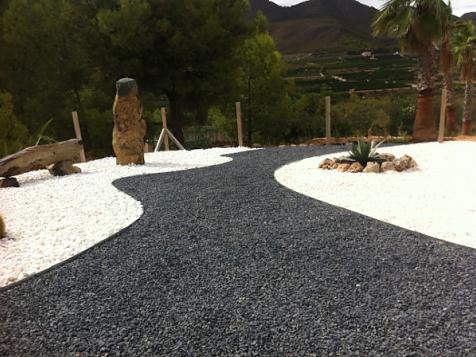
Placement Bordures (Bordufácil)
VolverFor the placement of Borduras we have to follow some simple steps, and previously we have to make sure of the possible channeling that may exist in the work area.
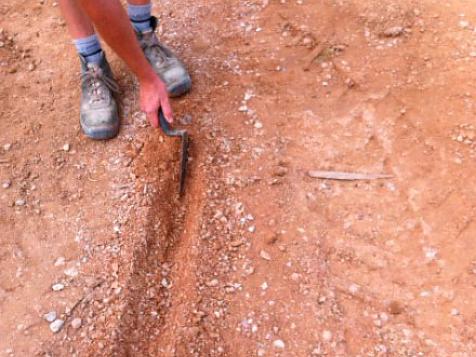
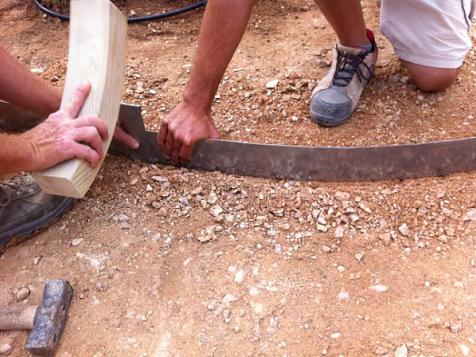
To place the Borduras we must introduce them three centimeters on the floor, helping us with a utensil that does not leave marks on them, such as a wood or a nylon hammer. Likewise if the ground is hard we must dig a small ditch to help introduce the bordura.
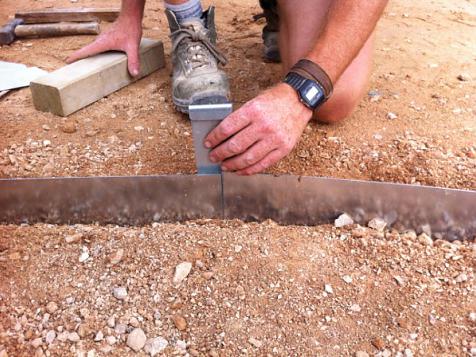
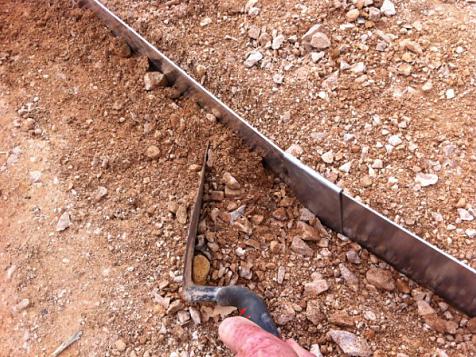
Then we must fix them on the ground with the help of the Bordura Pickaxes, which at the same time we will hammer them together for the union of the borders. Once finished, we press the earth on the Bordura so that it is stable and durable.
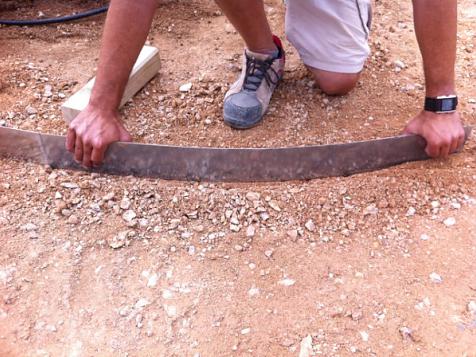
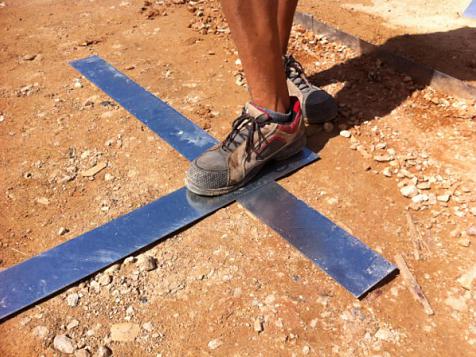
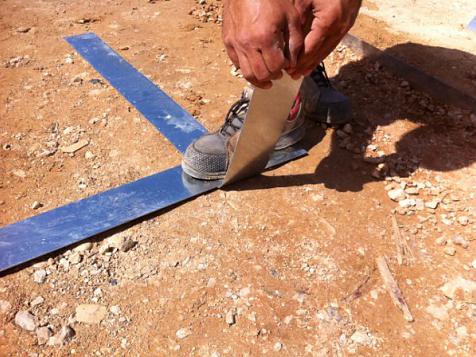
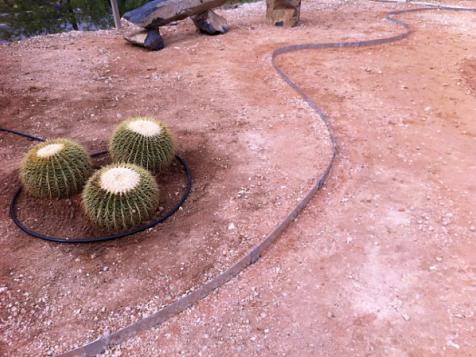
The Arisac Borduras are robust, made of galvanized steel, however we can handle them to adapt them to the shapes that we want. We can make curves with a slight pressure, or use some element to make uniform curves; for example using the curve of a pot. We can also make angles with the help of another bordure.
Once finished we will have a well defined, elegant, and lasting space in the passage of time.

